Keeping your Cane Corso’s ears clean is vital for their health and comfort. This guide provides simple, AKC-recommended steps for effective ear cleaning, ensuring your beloved companion stays happy and free from ear issues. Learn the essentials to maintain pristine ears for your majestic Cane Corso.
Cane Corso Ear Cleaning: An Essential AKC Guide

Your Cane Corso is a magnificent and loyal companion, and like any member of the family, their health and well-being are top priorities. While they might seem tough and imposing, even themightiest Mastiff needs regular care, and one often-overlooked area is ear hygiene. When it comes to Cane Corso ear cleaning, understanding the right techniques is key to preventing infections and keeping your dog comfortable.
Many Cane Corso owners find themselves wondering about the best way to approach ear cleaning. Is it necessary? How often should it be done? What products are safe to use? These are all excellent questions! Fortunately, caring for your Cane Corso’s ears doesn’t have to be complicated. With a little knowledge and the right approach, you can ensure your furry friend’s ears stay healthy and clean, just as the American Kennel Club (AKC) would recommend for maintaining their well-being.
This guide will walk you through everything you need to know about Cane Corso ear cleaning. We’ll cover the “why” and “when,” the “what you’ll need,” and the “how-to” in simple, step-by-step instructions. Get ready to give your Cane Corso the gift of clean, healthy ears!
Why Cane Corso Ear Cleaning is Important

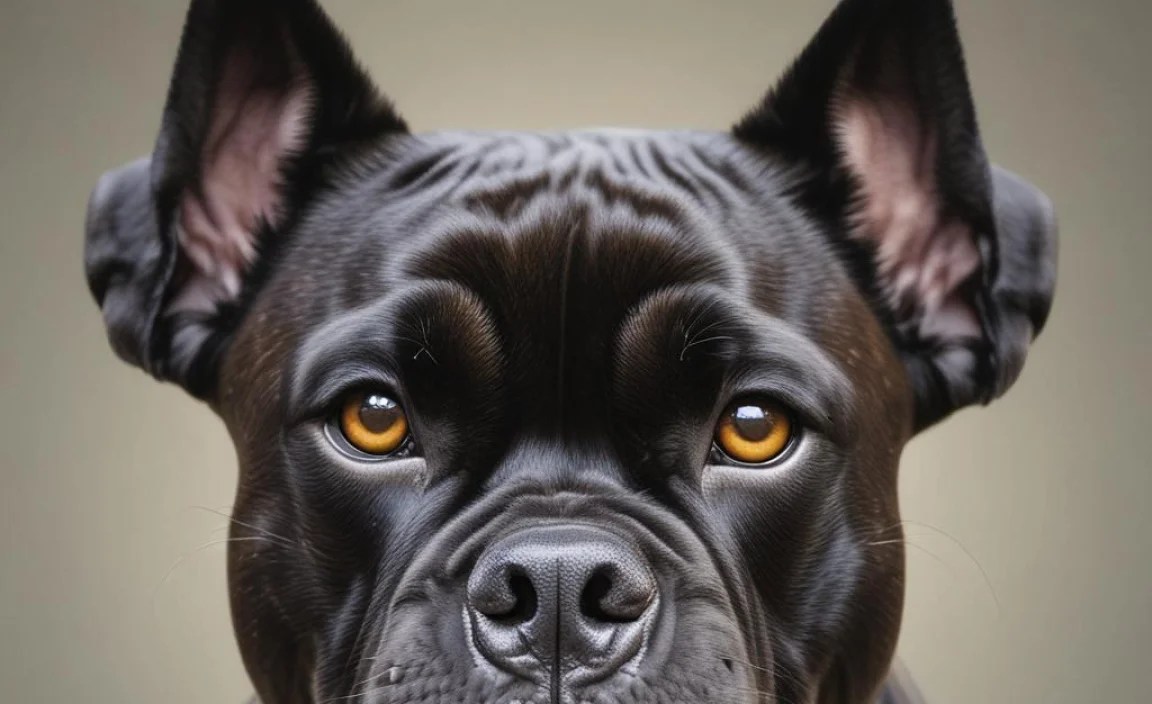
Cane Corsos, like many dog breeds with partially or fully dropped ears, can be more prone to ear issues than breeds with erect ears. Their ear conformation means that air circulation within the ear canal can be limited. This creates a warm, moist environment that can be a breeding ground for bacteria and yeast.
Regular cleaning helps to:
- Remove excess wax and debris that can trap moisture and microbes.
- Prevent the buildup of bacteria and yeast, which can lead to painful infections.
- Detect early signs of ear problems, such as redness, odor, or irritation, allowing for prompt treatment.
- Maintain overall ear health and comfort for your Cane Corso.
Recognizing When Your Cane Corso Needs Their Ears Cleaned
Your Cane Corso will often give you subtle (and sometimes not-so-subtle) cues that their ears need attention. Proactive cleaning is great, but being aware of these signs can help you intervene before a minor issue becomes a major problem:
- Excessive head shaking or tilting: This is a common sign of discomfort or irritation in the ear.
- Scratching at their ears: If your dog is frequently pawing at their ears, it often indicates itching or pain.
- Unpleasant odor: A yeasty, musty, or generally foul smell coming from the ears is a strong indicator of an infection or significant buildup.
- Redness or swelling: A visual inspection might reveal inflamed ear canals or a swollen ear flap.
- Discharge: Any dark, waxy, or pus-like discharge is a clear sign that cleaning or veterinary attention is needed.
- Sensitivity to touch: If your Cane Corso yelps or pulls away when you try to touch their ears, they are likely experiencing pain.
While the AKC emphasizes general health and well-being for all breeds, these signs are universal indicators that your dog’s ears require a closer look and potentially a cleaning session.
How Often Should You Clean Your Cane Corso’s Ears?

The frequency of ear cleaning for your Cane Corso depends on several factors, including their individual predisposition to ear issues, their lifestyle, and their diet. As a general guideline:
- For most Cane Corsos: Aim for a routine cleaning once every 2-4 weeks.
- If your Cane Corso swims or gets their ears wet frequently: You may need to clean their ears more often, especially after water exposure, to prevent moisture buildup.
- If your Cane Corso has a history of ear infections or allergies: Your veterinarian may recommend a more frequent cleaning schedule. Always follow your vet’s specific advice.
It’s always better to be observant. If you notice any of the signs mentioned above, it’s time for an ear check and likely a cleaning, even if it falls outside your usual schedule. Conversely, if your dog’s ears always look and smell clean, you might be able to stretch the time between cleanings slightly, but don’t neglect them entirely.
Essential Supplies for Cane Corso Ear Cleaning

Gathering your supplies before you start will make the process smoother for both you and your Cane Corso. Here’s what you’ll need:
| Item | Description & Purpose |
|---|---|
| Veterinarian-Approved Ear Cleaner | A gentle, pH-balanced cleaning solution specifically formulated for dogs. Avoid harsh chemicals or alcohol-based solutions. Look for options containing ingredients that help break down wax and have mild antiseptic properties. Many pet supply stores carry excellent options. You can find veterinarian-recommended solutions from brands like Zymox, Virbac, or Epi-Otic. |
| Cotton Balls or Gauze Pads | These are for wiping the inside of the ear flap and the outermost part of the ear canal. Never use cotton swabs (like Q-tips) inside your dog’s ear canal, as they can push debris further in or damage the eardrum. |
| Towel | To catch any drips from the cleaning solution and for your dog to shake off excess liquid (which they’ll likely do!). |
| High-Value Treats | Essential for positive reinforcement! Use small, tasty treats your Cane Corso loves to create a positive association with the ear cleaning process. |
| Optional: Ear Drying Solution | If your dog is prone to moisture-related ear issues, a veterinarian-recommended drying solution can be applied after cleaning to help wick away any residual moisture. |
When choosing an ear cleaner, it’s a good idea to consult with your veterinarian. They can recommend a product tailored to your Cane Corso’s specific needs, especially if they have a history of sensitive ears or allergies. For instance, the AKC’s advice on ear infections often points to using vet-approved solutions to avoid exacerbating problems.
Step-by-Step Guide to Cleaning Your Cane Corso’s Ears
Now that you have your supplies and know why it’s important, let’s get to the how-to! Remember to stay calm and reassuring throughout the process. Your dog will pick up on your demeanor.
Step 1: Prepare Your Space and Your Dog
Choose a well-lit area where you can easily clean up any mess. A bathroom or an outdoor space can be ideal. Have all your supplies within reach. Gently approach your Cane Corso, speak in a calm, soothing voice, and offer a few initial treats to set a positive tone. If your dog is anxious, you might want to enlist a helper to gently hold them or offer petting and reassurance.
Step 2: Inspect the Ears
Gently lift your Cane Corso’s ear flap to get a good look inside. Note the color of the ear canal and the amount of wax or debris present. A healthy ear canal is typically pale pink and has minimal visible wax. If you see significant redness, swelling, a foul odor, or dark discharge, stop the cleaning process and consult your veterinarian. It’s important not to proceed if you suspect an infection, as cleaning can sometimes worsen the condition.
Step 3: Apply the Ear Cleaner
Carefully insert the tip of the ear cleaner bottle into the opening of the ear canal. Only insert it far enough to deliver the solution, typically about 1/4 to 1/2 inch. Gently squeeze the bottle to fill the ear canal with the cleaning solution. You should be able to see the liquid pooling in the ear.
Step 4: Massage the Base of the Ear
With the cleaner inside the ear, gently fold the ear flap back down. Now, very gently massage the base of your Cane Corso’s ear (the cartilage part just below the opening). You should hear a squishing sound as the solution moves around inside the ear canal, loosening wax anddebris. Continue massaging for about 20-30 seconds. This is crucial for the cleaner to work effectively.
Step 5: Let Your Dog Shake!
After massaging, step back and allow your Cane Corso to shake their head. This is a natural dog behavior that helps to expel the loosened debris and excess cleaning solution from the ear canal. Be prepared for a potential spray, so keep that towel handy!
Step 6: Clean the Outer Ear and Flap
Using fresh cotton balls or gauze pads, gently wipe away any visible debris or excess cleaner from the inside of the ear flap and the very entrance of the ear canal. Be careful not to go deep into the canal. Just clean what you can see and reach. If the cotton ball or gauze comes out very dirty, repeat the cleaning process (steps 3-5) once more. If the ears still appear dirty after a second attempt, it might be time to consult your vet.
Step 7: Reward Your Cane Corso
This is the most important step for creating a positive experience! Lavish your dog with praise and offer those high-value treats. Make them feel like a superstar for enduring the ear cleaning. This positive reinforcement will make future cleanings much easier.
Common Pitfalls to Avoid During Cane Corso Ear Cleaning
Even with the best intentions, some common mistakes can make ear cleaning ineffective or even harmful. Being aware of these will help you provide the best care for your Cane Corso:
- Using cotton swabs (Q-tips): As mentioned, these can push debris deeper into the ear canal, potentially causing impaction or injury to the eardrum.
- Using harsh or inappropriate cleaning solutions: Avoid rubbing alcohol, hydrogen peroxide directly in the ear, or human ear drops unless specifically directed by your vet. These can irritate the delicate ear lining.
- Over-cleaning: Cleaning too frequently can strip the ear of its natural protective oils, leading to dryness, irritation, and making the ear more susceptible to infection. Stick to a schedule appropriate for your dog.
- Not massaging properly: Simply pouring solution in and wiping won’t effectively clean the deeper parts of the ear canal. The massage is key.
- Aggressive cleaning: Be gentle. The ear canal is sensitive. Forceful cleaning can cause pain and increase your dog’s anxiety about the process.
- Ignoring warning signs: If the ears are very red, painful, smelly, or have discharge, do not attempt to clean them yourself. Seek veterinary advice immediately.
The AKC emphasizes that owners should be aware of their dog’s anatomy and health needs. Understanding these pitfalls is part of that awareness.
When to Seek Veterinary Advice
While routine ear cleaning is a great preventative measure, there are times when professional veterinary attention is absolutely necessary. Don’t hesitate to call your vet if you observe any of the following:
- Persistent or severe odor: A strong, foul smell that doesn’t improve with cleaning is a red flag.
- Thick, dark, or colored discharge: This can indicate a significant infection (bacterial or yeast).
- Intense pain or a pronounced reaction to touch: Your dog is clearly uncomfortable or in pain when their ears are handled, even gently.
- Excessive head shaking or scratching: If these behaviors continue despite cleaning or start suddenly and intensely.
- Visible swelling or redness inside the ear or on the ear flap: This points to inflammation that needs professional assessment.
- Loss of balance or disorientation: In rare cases, ear infections can affect the vestibular system.
- Any changes in your dog’s behavior related to their ears: Lethargy, loss of appetite, or general crankiness can sometimes be linked to ear discomfort.
Your vet can diagnose the specific issue (e.g., bacterial infection, yeast infection, ear mites, allergies) and prescribe the appropriate treatment, which might include medicated ear drops.
Understanding Common Cane Corso Ear Issues
Cane Corsos, with their distinctive ear shape, can be susceptible to a few common ear-related problems. Knowing what to look for can help you catch issues early:
- Yeast Infections: These are very common in dogs with floppy ears. They thrive in moist environments and often present with a yeasty odor, itching, and a brownish discharge.
- Bacterial Infections: Similar to yeast, bacteria can flourish in the warm, dark ear canal. Symptoms can include redness, swelling, discharge (sometimes purulent), and pain.
- Ear Mites: These tiny parasites can cause intense itching and irritation. You might see a dark, crumbly discharge that resembles coffee grounds.
- Allergies: Environmental or food allergies can manifest as itchy skin, and this often includes the ears, making them inflamed and prone to secondary infections.
- Foreign Objects: While less common, grass seeds, dirt, or small debris can sometimes enter the ear canal and cause irritation or infection.
The American Kennel Club (AKC) strongly advocates for responsible pet ownership, which includes understanding breed-specific health predispositions. For example, the AKC breed standard descriptions for the Cane Corso don’t often highlight ear issues, but good health practices are universal.
Tips for Making Ear Cleaning a Positive Experience
Building positive associations with grooming is key to making ear cleaning a stress-free event for both you and your Cane Corso. Here are some tips:
- Start Young: If you have a puppy, get them accustomed to having their ears handled and gently examined from an early age.
- Short & Sweet: Keep initial sessions very short, focusing on just touching the ears and offering treats. Gradually increase the duration and incorporate the cleaning steps.
- Positive Reinforcement: Always pair ear handling and cleaning with high-value treats, praise, and gentle petting.
- Distraction: Some owners find that offering a long-lasting chew toy or a lick mat with peanut butter during the cleaning process can be a great distraction.
- Know When to Stop: If your dog becomes overly stressed or fearful, end the session on a positive note with praise and treats, and try again later or break it down into even smaller steps.
- Consistency is Key: Regular, gentle handling helps your dog become desensitized to the process.


